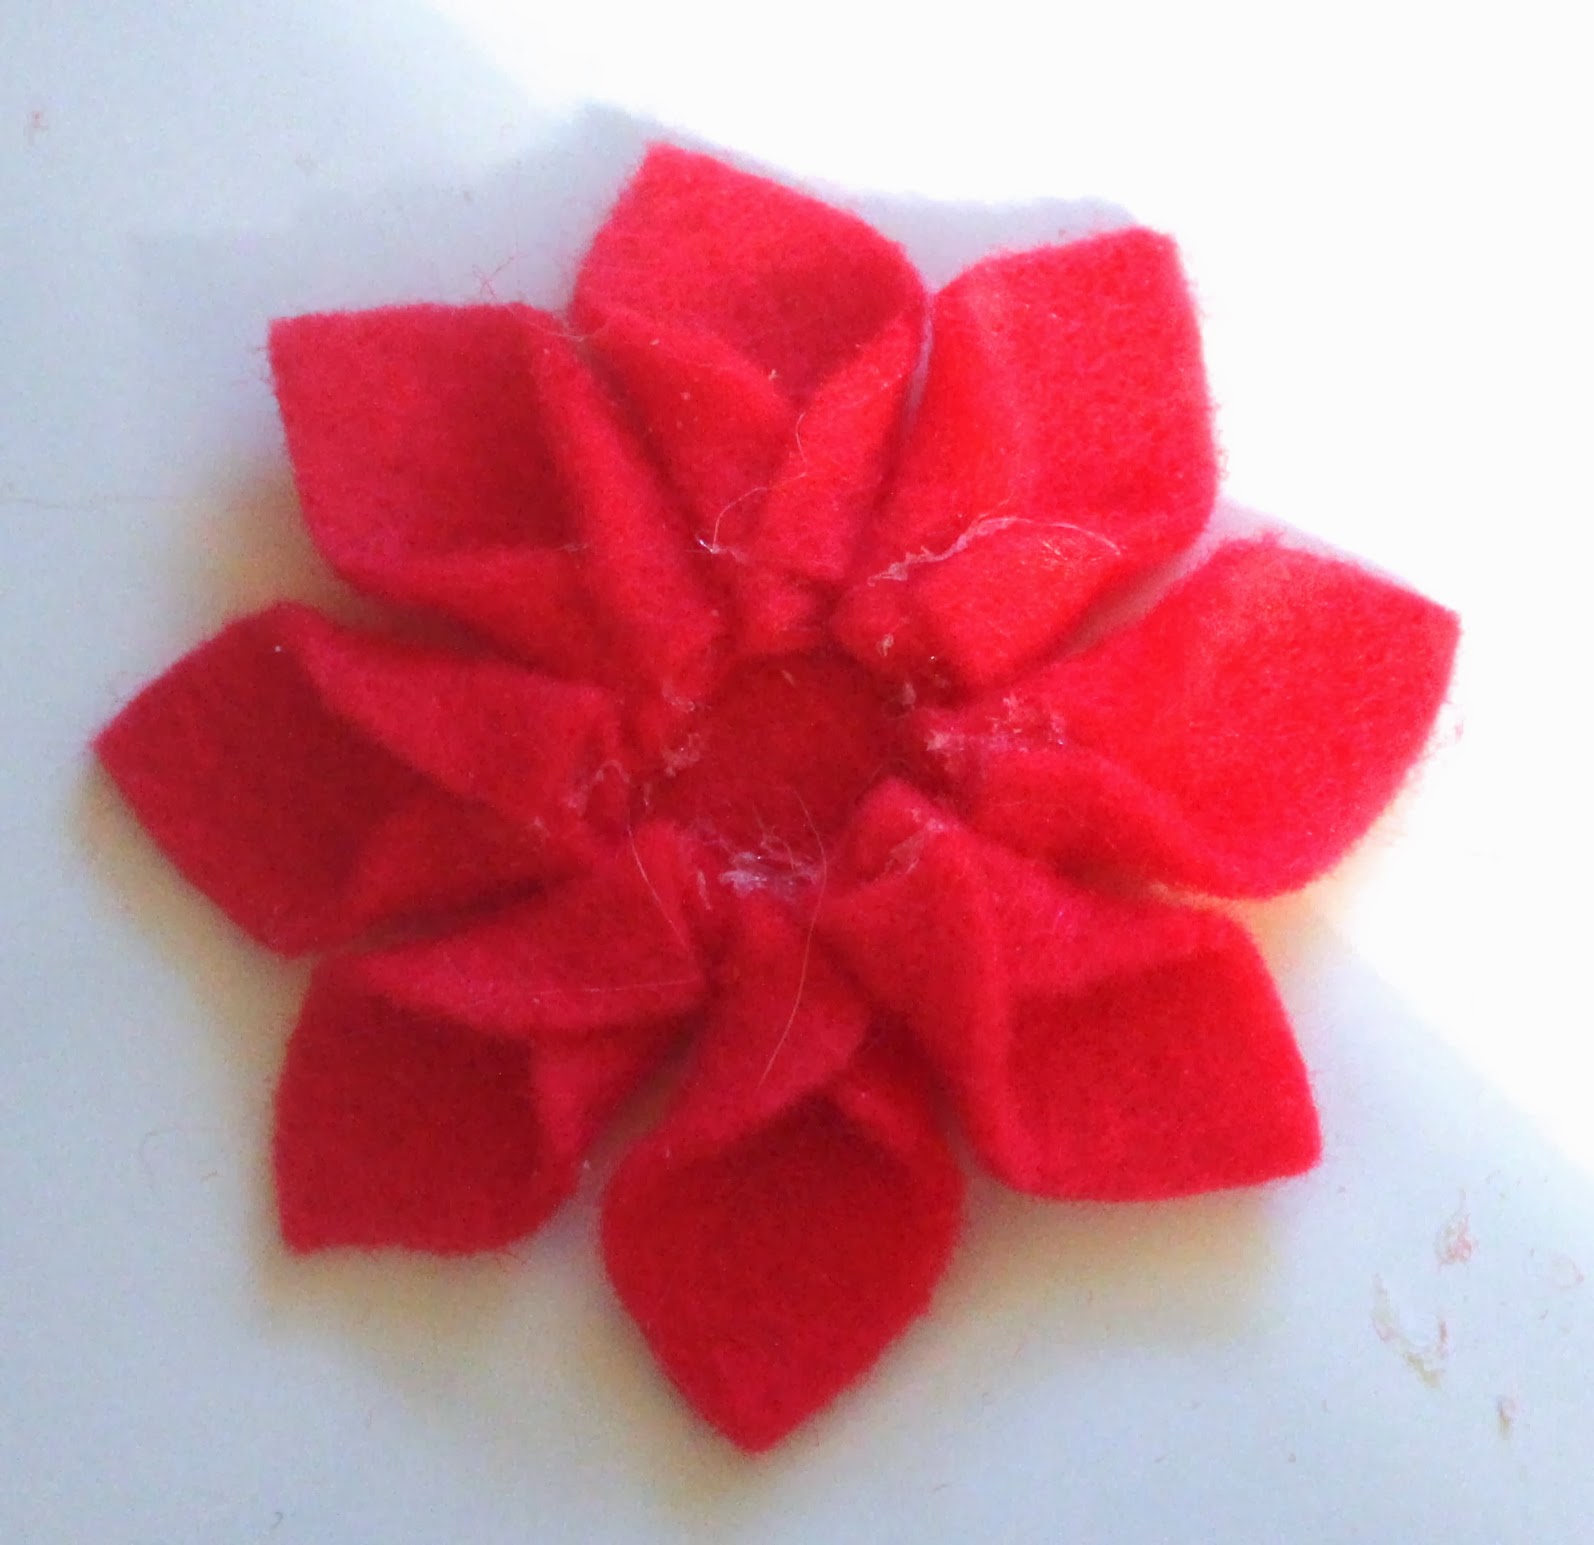
I decided to do a different version of the dahlia project. I used two different shades of felt and added an extra layer of petals. Unfortunately, I didn't position them right so my petals were off. Lesson learned.
Here is my youtube video tutorial for this project. It still looks so cute as a headband accessory!
Friday, February 28, 2014
Thursday, February 13, 2014
Day 1 ~ DIY Felt Dhalia Flower Headband Tutorial
This is my first official post for this blog - hooray!
This is a headband project I have been wanting to do but I have to admit its a little labor intensive. After seeing the final product though; I realized it is worth the work.
Step 1: Cut a paper template of each petal. Three different sizes.
Step 2: Cut out 8 pieces of felt of each petal.
Step 3: Cut 2 felt circles.
This is a headband project I have been wanting to do but I have to admit its a little labor intensive. After seeing the final product though; I realized it is worth the work.
****************************************************
Material:- Felt
- Scissors
- Paper
- Pencil
- Glue gun
- Elastic
*****************************************************
Step 2: Cut out 8 pieces of felt of each petal.
Step 3: Cut 2 felt circles.
Step 4: Fold both edges of petals together and glue them (see image below).
Step 5: Line the largest petals and glue them to the felt circle. Keep on gluing and layering the petals.
Step 6: Cut 14 inches of elastic and glue to the back of the flower then glue a felt circle to cover the elastic.
Step 7: Glue a diamond center to the flower.
LOVE IT !!
***********************
NOTE: The hot glue gun can get messy when gluing small petals. Next time I will use matching thread and stitch each petal close. I know it will be more work but it will look nicer.
***********************
Subscribe to:
Comments (Atom)


